Getting the Nuki Smart Lock 2.0 to work on a Yale Mantis door
I recently decided to dip into the Smart Home world in a more serious way. I've had a few IKEA smart power adapters but I was keeping away from the more expensive larger items like security systems, video door bells and smart locks until I was able to do a bit more research on them.
In Europe the selection of official HomeKit approved devices isn't as good as our US cousins have it. Having said that, one smart lock device that piqued my interest was the Nuki Smart Lock 2.0 system.
This device attaches to your door on the inside so the outside is the same as before. There is no expensive locksmith work to be carried out...so long as your door is compatible. Nuki have a great Door Compatibility guide on their site that's really useful. However, as my door had a thumb knob on the inside I wasn't 100% sure if the Nuki Smart Lock would actually work on my door.

I trawled YouTube videos, google searches and forum posts to see if anyone had the same Yale Mantis door as I did but to no avail so I've put together this little guide for anyone else in the same boat as me. To make a long story short, the smart lock 2.0 is 100% compatible with the door. Below are my basic instructions on how to install the unit and the gotchas to look out for.
Step 1: Remove the Thumb Knob from the door
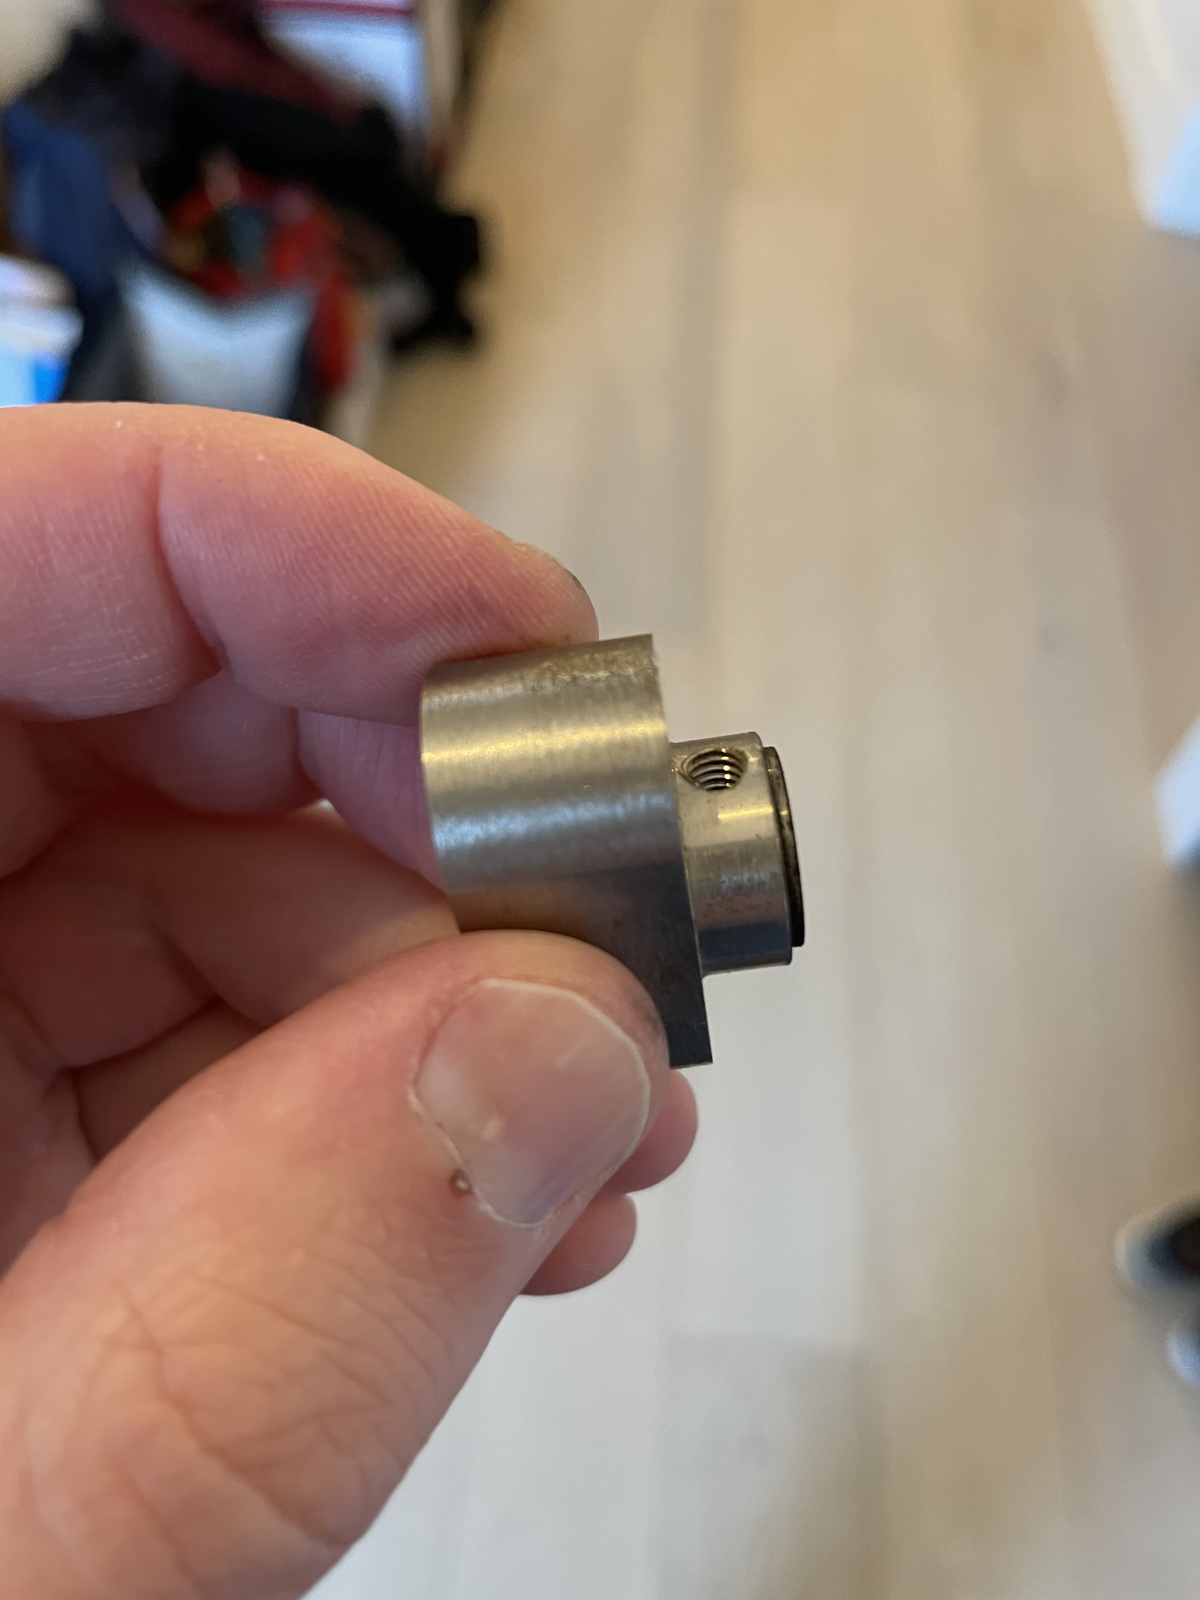
This one puzzled me as I was missing the correct phrase to search to know how to remove the inner thumb twist knob from the door. It wasn't until I came across a random video where the guy referred to the turnable knob as a "thumb turn cylinder lock and grub screw" that I was able to narrow the search and find the answer on how to remove this from the door.
If you look closely at the top of the knob you'll see a tiny hole. I initially mistakenly thought you had to press this while turning the knob but it's actually an allen key. I found a size H2 key worked a treat here. A few twists and the tiny screw came out and I was able to remove the knob.
Step 2: Put on the Smart Lock Adapter
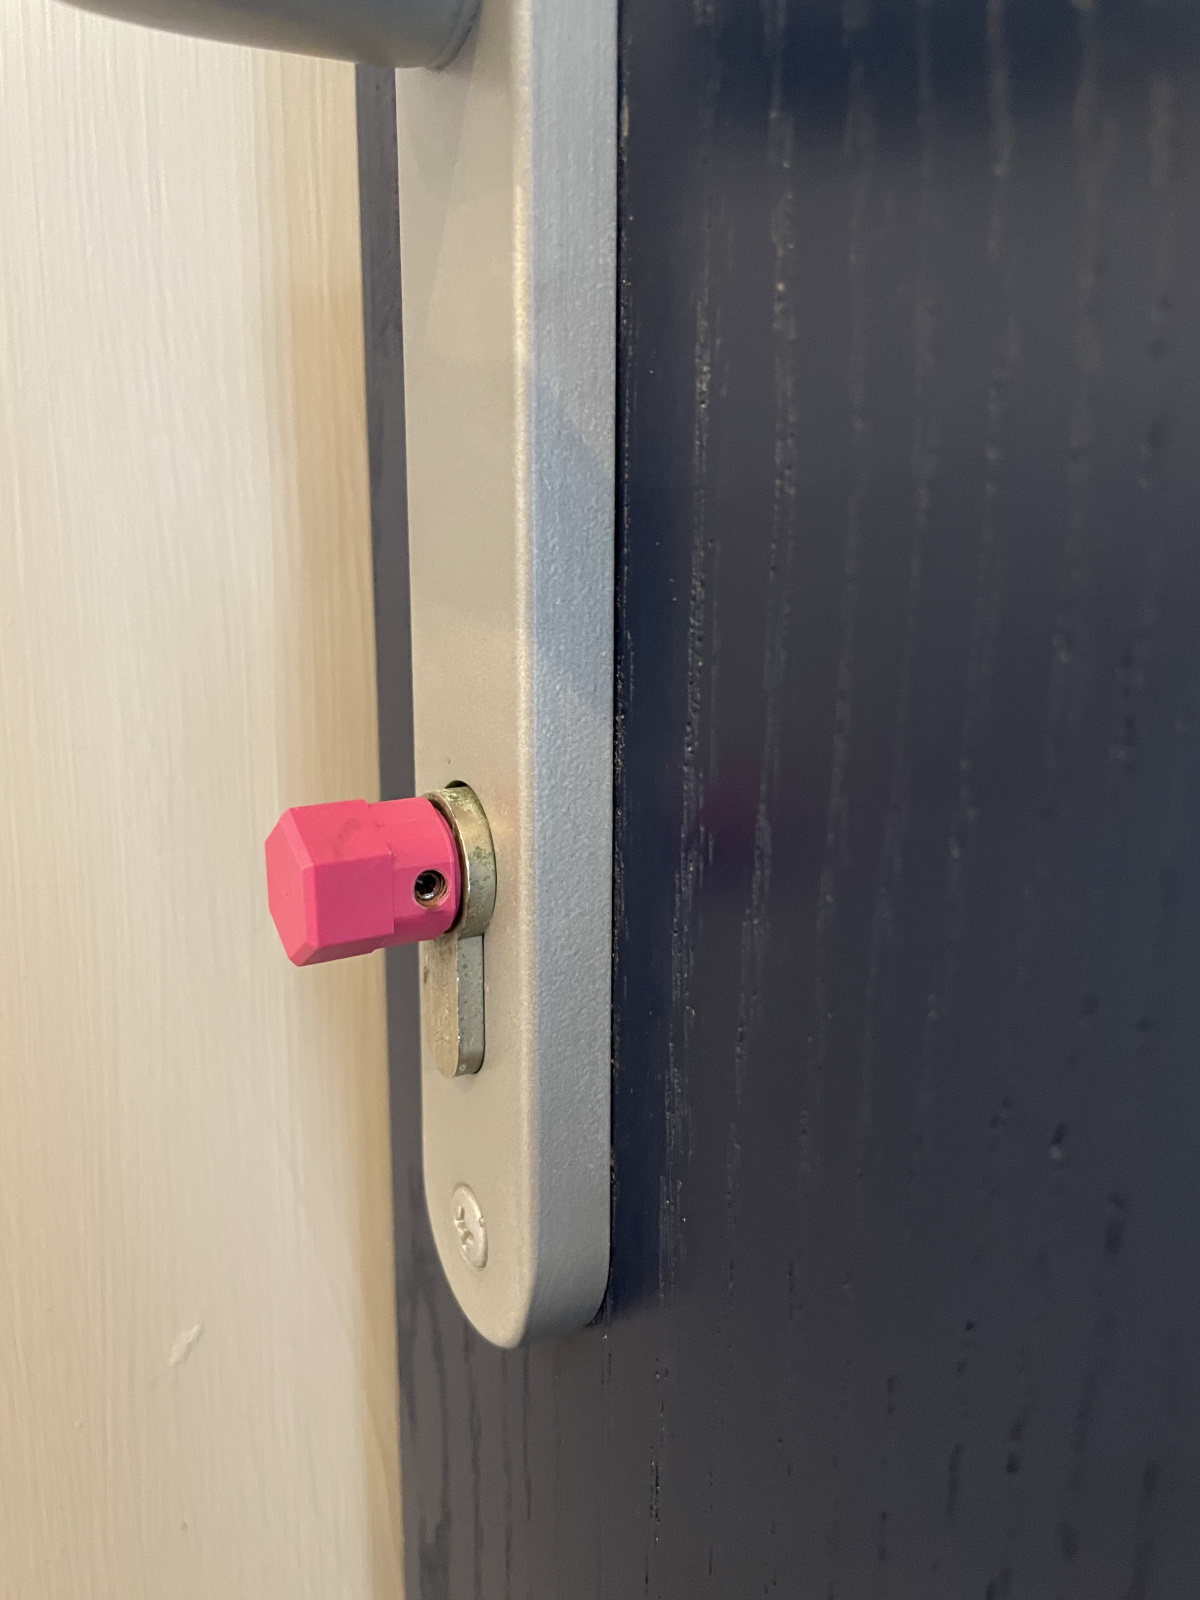
When ordering the Smart Lock Adapter from the Nuki website you'll have the option to select an adapter for doors with twistable knobs. If you click on the link on the site you can select Yale from a list of door manufacturers. This will give you this lovely looking pink adapter to use where the old knob used be. Simply screw it into place and you're good to go. No need to worry about the orientation of this before moving on. The door can be recalibrated during setup.
Step 3: Apply the B panel to the door
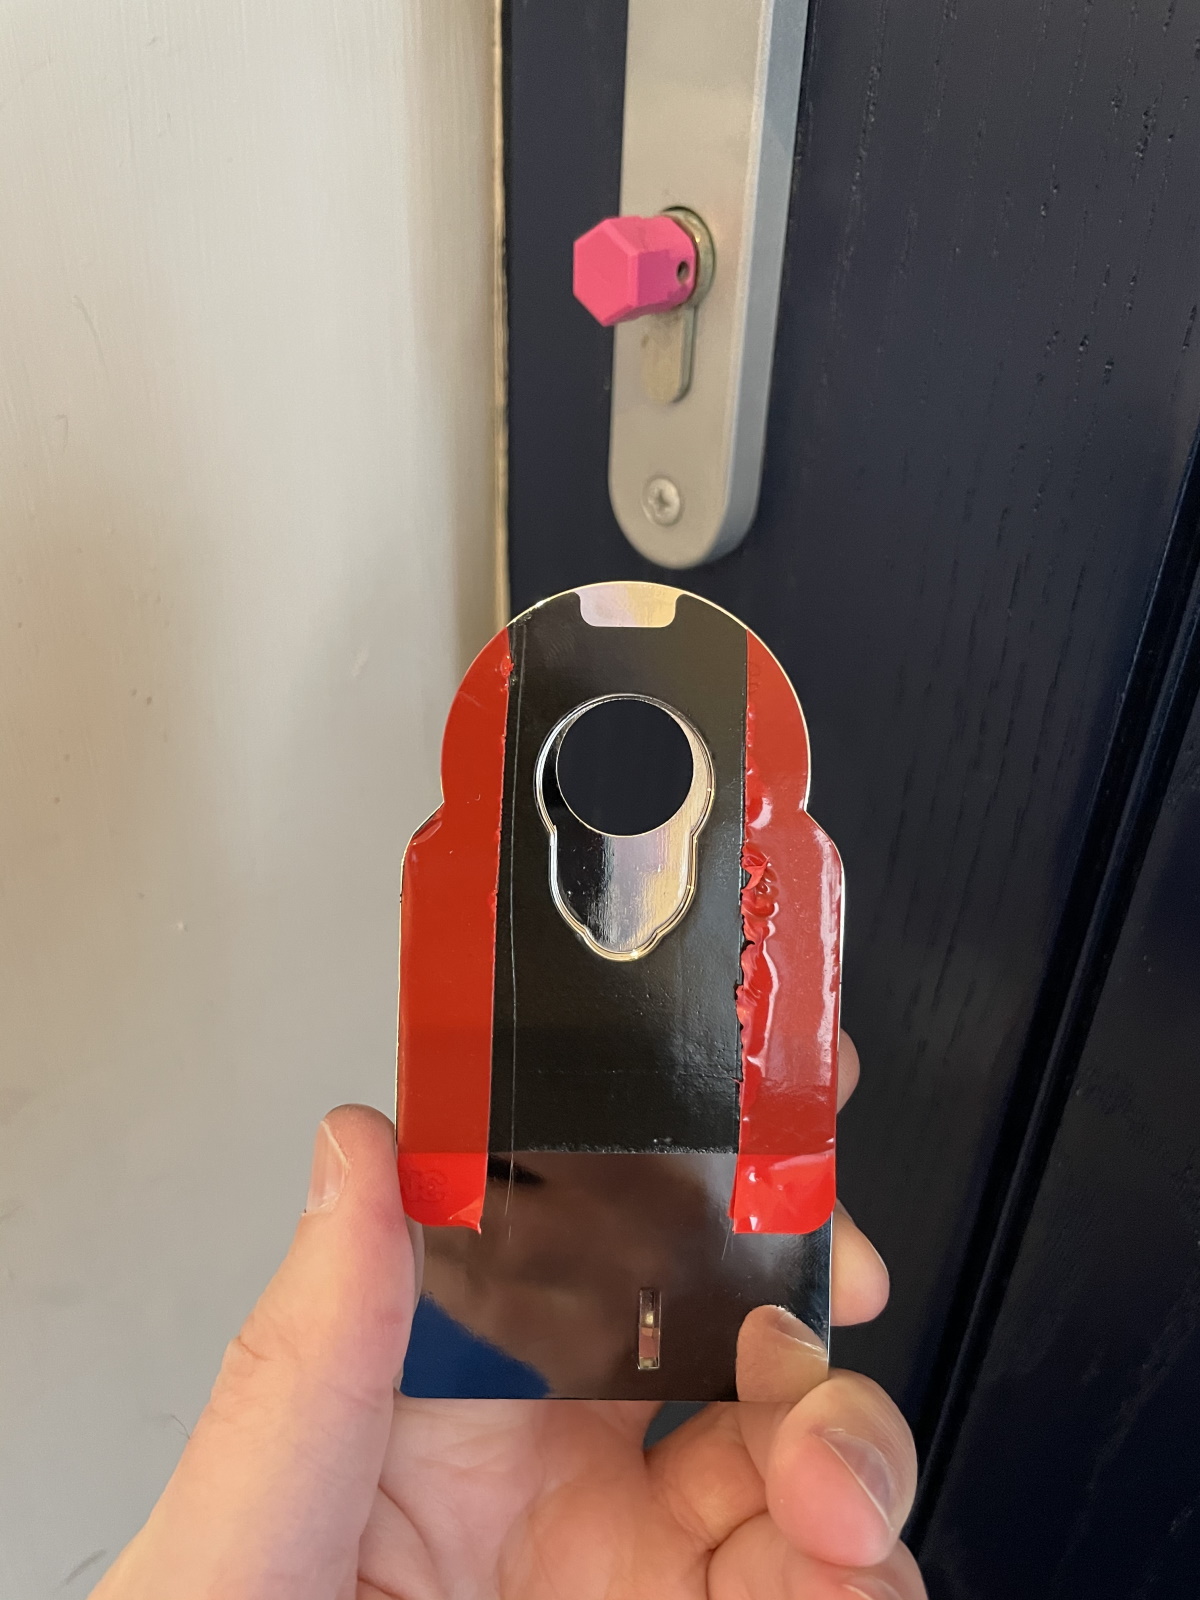
The A panel is for doors where the keyhole area is deeper. This isn't required for the Yale Mantis door. The only snag here is that your panel will be sitting against the frame of the handle rather then being flush with the door. Rather than peel off the stick label entirely I gave a rough measurement of the door handle and used a box cutter knife to cut away the backing tap for just this area. This is absolutely not required but my thinking was with so much of the panel being exposed I didn't want dust collecting on the exposed sticky parts of the panel.
Oh and a word of warning, apply this panel slowly...you don't want to stick it on the handle crooked.
Step 4: Connect the Nuki Smart Lock to the panel
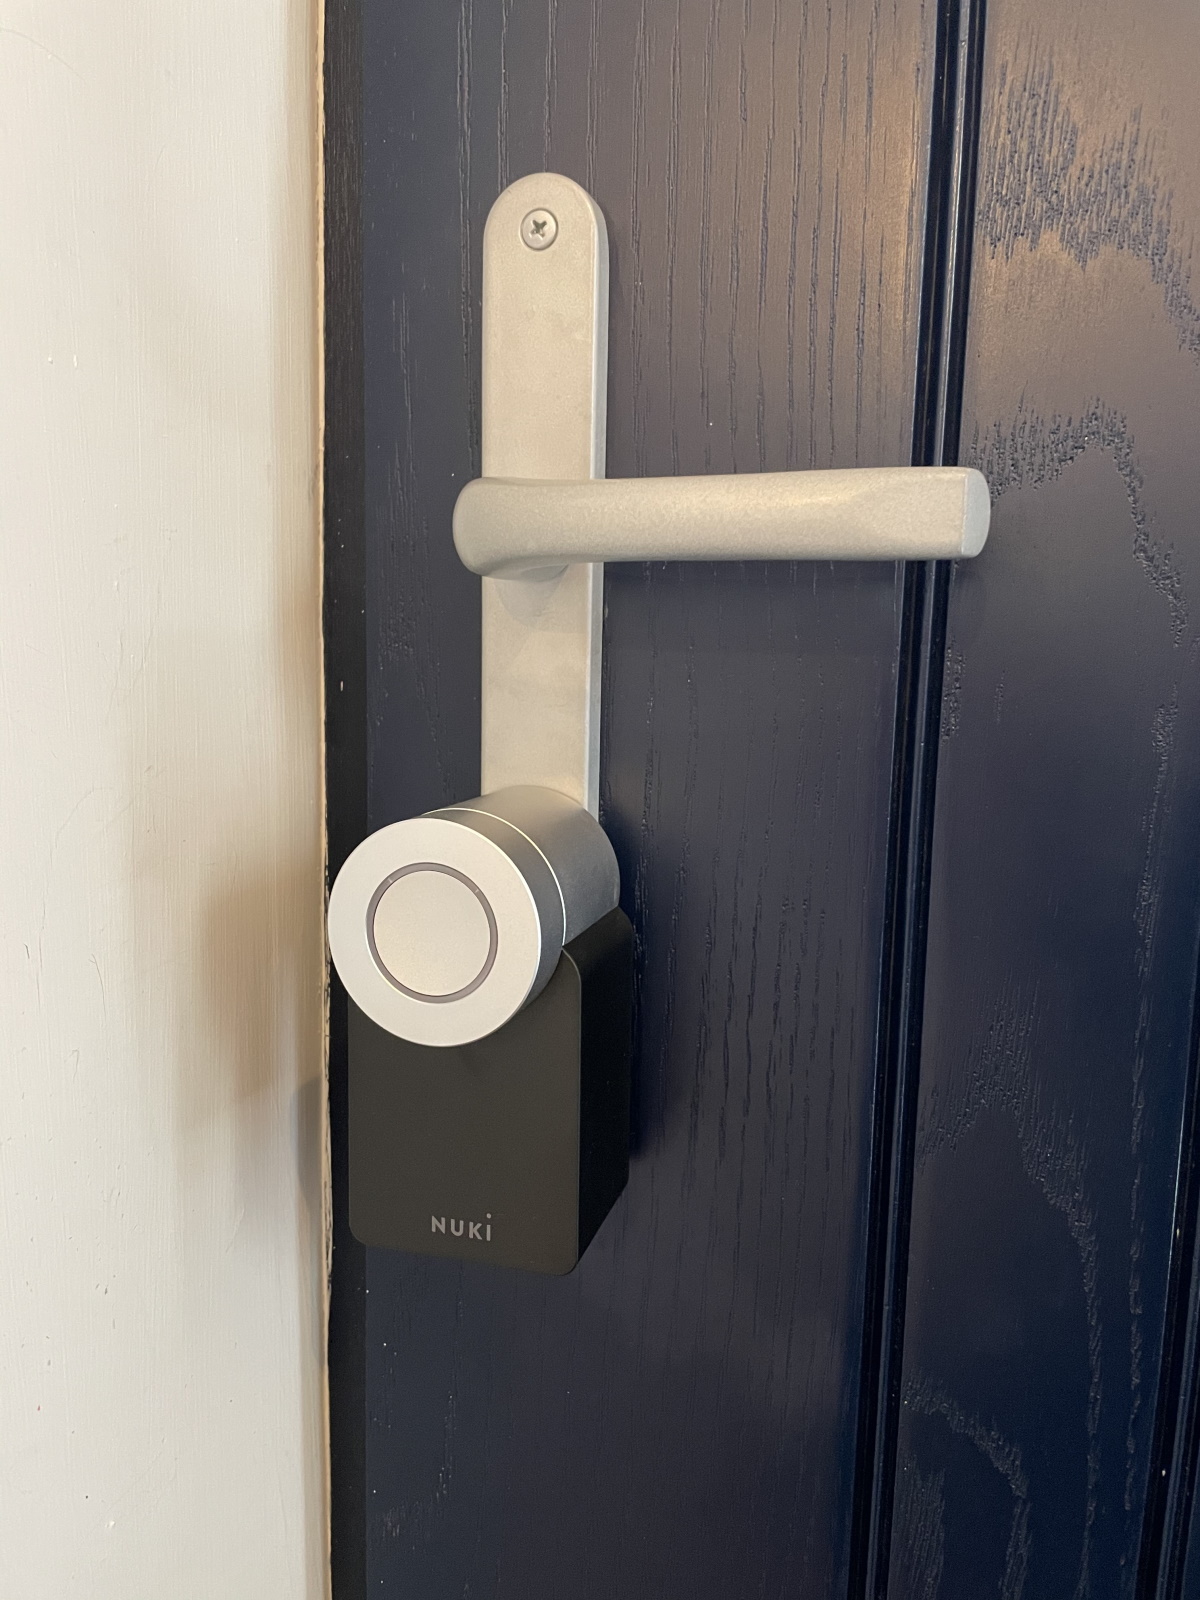
This is extemely easy to do and once attached will give a statisfying click so you know it's all secure. Simply fire up the Nuki app and follow the on screen instructions to pair and register your phone with the smart lock.
Step 5: Plug in the Smart Bridge if you bought one or got the bundle
Simply plug this in, keep the button pressed for around 10-15seconds and it should pair with your phone/door.
Registering the Device on the My Nuki My Account website
After you've paired your device you might want to register the device on the Nuki website. You can easily do this by logging into your Nuki Account and going to My Devices. It took me a few mins to track it down but you can find your device id using the official Nuki app. Simply open the app and expand the main menu. Tap on Manage My Devices and select the Smart Lock. Tap on your new setup from the list shown and then tap on Connection Status. Lastly tap on the i icon in the top right to see your Smart Lock ID. This is the id your should enter on the website.
My next purchase will be to get a few spare fobs to have around the place for people who need access to the house without the need to setup any phone apps - think grandparents, cleaner, child minders etc. These aren't exactly cheap at around €139 for a pack of 4 on the Nuki store but my plan is to hold tough for 30days until my Nuki Club vouchers materialize. Their site mentions a "welcome gift" when you sign up after 30days so will have to see what type of discount I manage to get from that.
Overall after having the Nuki Smart Lock 2.0 for a few weeks now I'm super impressed with it. The device works great with the door, was easy to setup and, with the Nuki App, it's easy to give other family members access to the door - just remember that you'll continue to need to press the door handle up like normal to deadbolt the door as normal. The smart lock only locks/unlocks the door, it won't actually open it for you.


